At first, it would thrill me as well as terrify me to think about stitching my clothes. The thought of making a garment out of a piece of cloth was like a fantasy. But then there was the cold hard truth: I didn’t know how to even thread a needle, let alone master basic sewing skills or operate a sewing machine. Now I proudly wear clothes that I created.
Here’s how it all began, and how you can do the same as I already did — from no skills to making a custom garment. Embrace the learning process, which requires patience, practice, and a step-by-step approach.

1. What Sparked My Interest in Sewing
For many, the allure of sewing lies in the ability to create something truly unique and personalized. My journey began with a simple curiosity about how a sewing machine could transform a plain piece of fabric into a beautiful garment.
The idea of crafting my clothing, tailored to my style and fit, was incredibly appealing. Perhaps you’ve inherited a sewing machine from a family member or have always been fascinated by the intricate process of sewing. Whatever your reason, the world of sewing is brimming with creative possibilities waiting for you to explore.
2. Setting Goals for My Sewing Journey
As I embarked on my sewing journey, setting clear goals was crucial. I asked myself what I wanted to achieve with my newfound sewing skills. Did I want to create my clothing, make thoughtful gifts for friends and family, or simply enjoy the therapeutic benefits of sewing?
By setting specific goals, I stayed motivated and focused. I started with simple projects and gradually worked my way up to more complex garments. Remember, the key to success is patience and persistence. Your sewing journey is unique, and setting goals will help you navigate it with purpose.
3. Creating My First Sewing Kit
The first time I entered a sewing materials shop, it was an amalgamation of different gadgets and tools, all of which were exotic to me and slightly intimidating. Do I need a seam ripper? (Spoiler: In most cases, yes.)
Creating your first garment is a significant milestone for any beginner, as it represents a tangible achievement that builds confidence and lays the foundation for more advanced skills in sewing. Here’s the beginner kit I assembled for myself after endless Googling:
Needles: I bought a set that contains a few ‘universal’ sewing machine needles and various hand sewing needles. At the time, these were more than enough for a novice seamstress, especially because I later found out that specific needles are needed for different materials.
Thread: My choice of thread is polyester because it is highly durable and can serve a variety of functions. Most importantly though, it is available in literally any hue that you can think of.
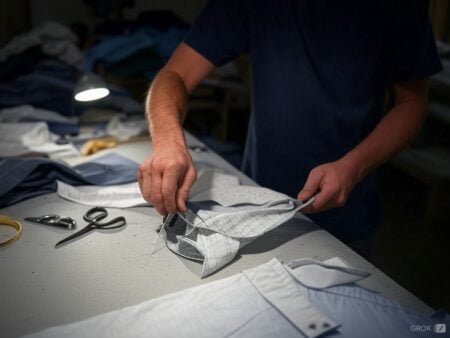
Seam Ripper: I teased about referring to this small gadget as my “undo button” because I utilized it so frequently at the start of my sewing ventures.
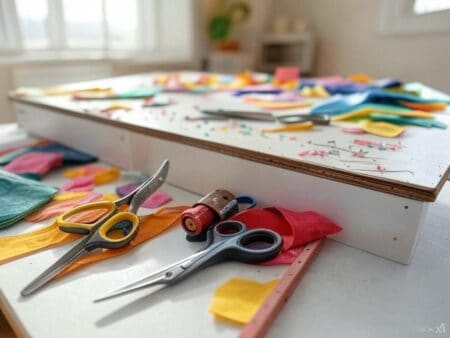
Scissors: Fabric scissors are a must have when sewing- plain and simple. I remember the first time I tried to do it with normal kitchen scissors and let’s just say that was not a good idea.
Pins and a Pincushion: The standard tomato pincushion is the one I went with and shoving the pins into it while viewing a series on Netflix turned out to be fulfilling in its own right.
Measuring Tape: This was my greatest ally while taking body measurements, it was flexible while at the same time accurate.

4. Choosing My First Sewing Machine
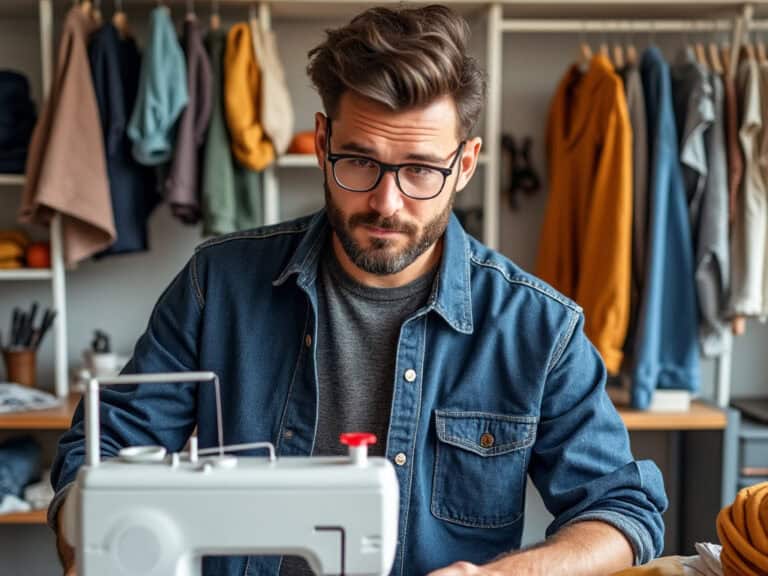
Purchasing a sewing machine for the first time felt like purchasing a car. Choosing the right sewing machines can make the learning process much easier and contribute to better results when creating garments. It felt like I was stepping into a world with endless possibilities and each of those possibilities came with fancy specifications which I had no idea about.
In any case, I remember the incredible advice of other sewing beginners who suggested I buy a Brother CS6000i sewing machine as it was suitable for beginners, affordable, easy to use, and offered enough stitch options to keep the user on their toes.
Look for the below features if you need a machine:
Ease of Use: Look for machines that are easy to use. Device operation should be made straightforward with easy instructions.
Durability: Look for sturdy devices. You will thank yourself later on.
Customer Support: Opting for a machine with reputable customer care will ensure that your experience is devoid of any frustration.
5. My Next Challenge: Buying Fabric for the First Time
I recall my experience in the fabric section where I found myself utterly lost. It’s easy to see why cotton became my muse: It’s cheap, simple to use, and forgiving of mistakes. All of my initial pieces were created with woven cotton.
Starting with simple garments like skirts and knit tops can help build a solid foundation before moving on to more complex projects. But, muslin is also quite useful for awesome practice. Pro tip: stay clear of stretchy fabrics like jersey in the beginning — they’re very slippy and will possibly tear you apart with your seam ripper.

6. Getting the Basics: Starting My Sewing Journey
Comprehending Pattern For Sewing
It reminded me of ancient history as I tried to learn to sew and understand sewing patterns. Pretty much everything was in a foreign language with alien symbols, arrows, and dots, And so to deal with all that, I thought it was smart to divide it into stages:
Cutting Lines: These demonstrate exactly how cutting of the material is to be done.
Using Dots and Triangles: This is used to put different pieces with each other.
Grainlines: These arrows make sure the appropriate way of stretching the fabric is used.
I would look at the instructions twice before cutting them, once to get the general gist of things and the other for details such as seam allowances.
Starting with Simple Projects: Scarves, Tote Bags, and Pillowcases
When I first started sewing, I found it best to begin with simple projects that helped build my confidence and develop my skills. Scarves, tote bags, and pillowcases were my go-to choices. These projects required minimal fabric and could be completed quickly, giving me a sense of accomplishment and motivation to continue learning.
They were also excellent ways to practice sewing straight lines and simple seams. Starting with these easy projects allowed me to experiment with different fabrics and techniques, setting a solid foundation for more complex sewing endeavors.
7. How I Turned My Sewing Practice into Progress
Once I mastered the sewing machine, attempting any straight-line sewing felt off—a shaky experience. In addition to the hand-sewing basics found on my machine, I also embraced stray fabric while changing the stitch length to 2.5mm hand-sewn pieces for added support. Finally, I would consider using seam guides on the drilling plate for stitch attachments a game changer that makes shot fabric sewing easier.
8. The Three Types of Stitches I Mastered as a Beginner
While hand sewing may be an unconventional technique, it provides a practical solution for efficient finishing touches. For beginners learning the art of sewing clothes, mastering these techniques can be particularly rewarding. During my practice, I should also focus on running stitches: basic stitches, an ideal replacement for basting as serving stitching; backstitching, which is best when constructing seams, and lastly slip stitches, which would serve me for the purpose of hemming.
9. My First Project: Loose-Fitting Pants
What started as a hobby where I would sit for hours working on fabric and sewing has now turned into a project—repairing a pair of fabric shoes from a hit-and-miss pattern with a cotton print. This journey has been instrumental in helping me build my dream wardrobe. For those who want to make an easy fit, look for versatile fabric:
Suitable fabric
The first and most important step when making any fabric is selection. I recommend soft broad cotton fabric because it is flexible and can be sown easily. But before deciding on the fabric, one has to be sure to iron it in order to prevent fabric shrinkage when washing it for the first time.

Cutting The Fabric
Once the fabric is gathered, a pattern has to be decided on. Pasting started with arrows marking the grainline, so it would be easier to fold the fabric and pin it down before putting anything on out of sheer fabric. It tends to be messy so gloves would be helpful while cutting it out with scissors.
Putting the Pants Together
Sewing the Inseams: First I sewed inseams together which felt like putting some sections of a jigsaw puzzle together.
Joining the Legs: This part was hard! The sewing lady turned one leg inside out and put it in the other leg which was the right way round, then joined the edges of the crawl area and sewed together.
Adding the Waistband: It seemed to me that it was a great achievement to fold the material to make a waistband casing. It made me feel somewhat of a do-it-your-selfer when I used a safety pin to pull elastic through.
Hemming the Legs: The last task which was finishing the outermost edges that were done by folding the fabric over twice to give a neat look.
10. How I Learned to Understand Body Measurements and Fit
One of the most critical aspects of sewing is understanding body measurements and fit. To create garments that look and feel great, I learned how to take accurate measurements and use them to create patterns that fit my body perfectly. This involved understanding my body shape, proportions, and measurements, as well as how to adjust patterns to suit my unique shape.
With practice and patience, I was able to create garments that fit perfectly, making me feel confident and stylish. Accurate measurements are the cornerstone of successful sewing, and mastering this skill will elevate your sewing projects.
11. Dealing with Mistakes: What I Learned from My Sewing Struggles
Dealing with errors? I made plenty. Start sewing and remember that every expert was once a beginner. From sewing seams in the reverse way to even snipping my clothes, I’ve done my fair share of trial and error. My seam ripper became my MVP and I soon understood how true the saying “Haste makes waste” is especially when it’s all about the sewing machine.

12. Creating My Dedicated Sewing Area and Workspace
As my passion for sewing grew, I realized the importance of having a dedicated sewing area and workspace. This helped me stay organized, focused, and productive, allowing me to make the most of my sewing time. I invested in a good sewing machine, and basic sewing tools, and created a comfortable workspace that inspired creativity and productivity.
A well-organized sewing area not only made my projects more enjoyable but also helped me avoid mistakes, ensuring that my creations turned out perfectly. If you’re serious about sewing, setting up a dedicated workspace is a game-changer.
13. Learning Self-Esteem Through My Sewing Journey
After the completion of my pants, There was hardly a place where I did not wear them. They were not the most presentable, but they were my- I had made them. Since then I have been carrying out even more complicated work although it has been increasing, I have somewhere a tendency to refer to the basics whenever things get too inviting.
If you are just beginning, here is important advice: focus on your sewing goals, be patient, and don’t forget to practice as well. Believe me, you won’t find anything that feels better than putting on a garment that you have hand-crafted yourself.


