")


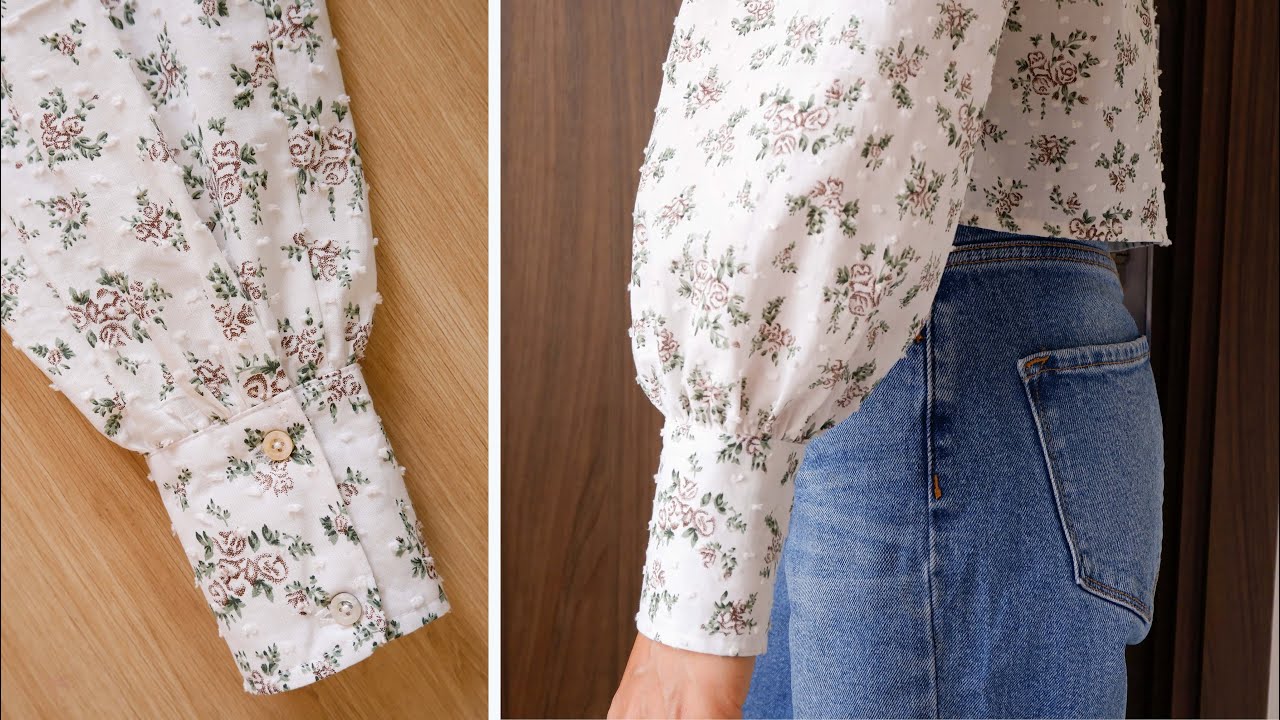
what are cuffs anyway? Well, they’re a lot more than you think. They’re not just fabric loops that go on your wrists. They’re the little things on your clothes that help you express yourself. And they turn basic outfits into outfits that leave an impression.
If you want to learn how to sew cuff on Sleeves and make your sleeves fashionable statements, then keep reading. Because our guide is all about breaking each step down. From hand sewing to machine sewing, we’ve got you covered.
1. Hand Sewing Method
1.1. Picking Your Length
Start off with measuring your wrist then add an extra inch for comfort. Hand-sewing gives you that personal touch since you can feel the fabric as you go along, giving you a garment that looks good and feels even better.
Also shoot for 85%-90% of the bottom measurement.

1.2.. Adding Pattern Piece
Double up on your cuff length and width (While adding a little seam allowance) to create a pattern piece that’s all yours. Stick with the basics: ruler and scissors — no need to overcomplicate things here.
Fold it in half, cut on fold, no stress vibes only. There’s something about hand-sewing that makes cutting less chaotic and more mindful.
1.3. Pinning + Hand Sewing
Use pins to secure it in place now that your cuff is looking like a cuff. With hand-sewing everything is done slower and more deliberately — even pinning has its own little dance.
2. Machine Sewing Method:
2.1. Step 1: Choosing Your Length and Width
Machine sewing offers precision in measuring your wrist. Add an extra inch for comfort, as with hand-sewing. The machine allows for efficient cutting and measuring.
Machine sewing simplifies width calculations. Go for around 85%-90% of the bottom measurement for a quick, precise approach.

2.2. Pattern piece
Create a pattern piece suitable for machine sewing. Seam allowance is crucial, typically around 1/4 inch. The machine adds efficiency to this process.
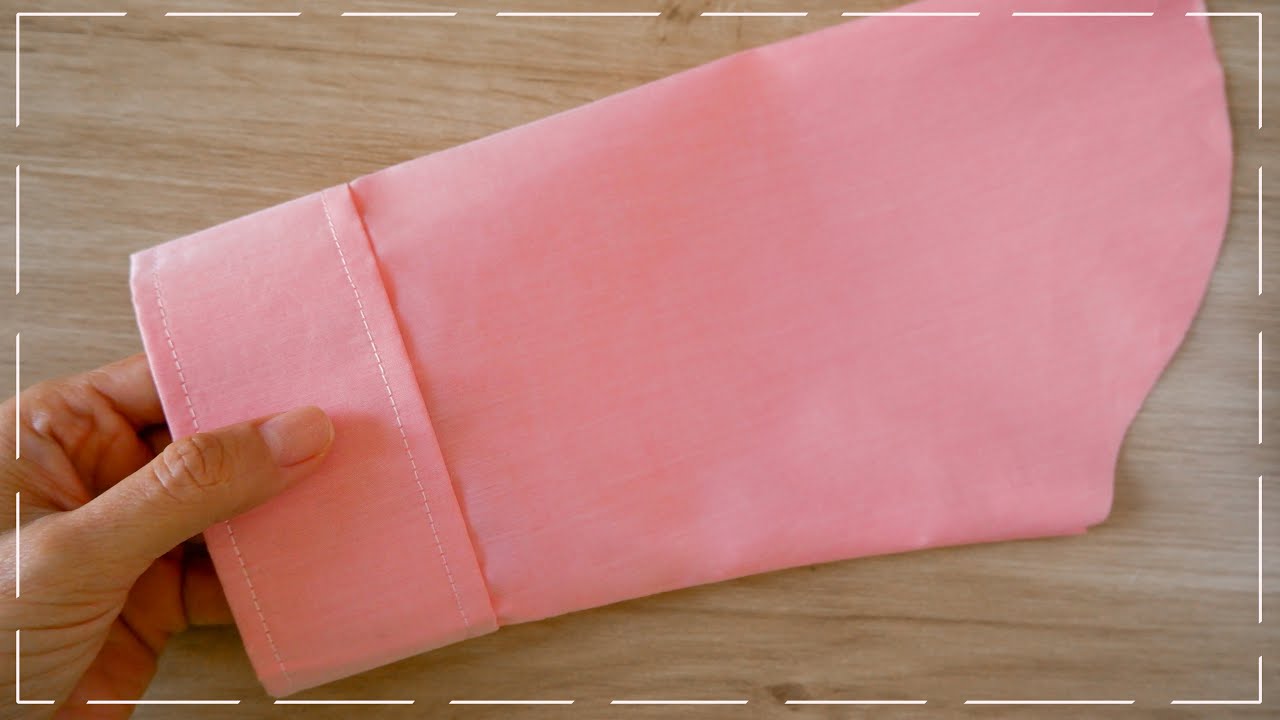
2.3. Machine Sewing
Use pins for precision, but let the machine add speed to your sewing journey. Machine sewing allows for a faster, yet controlled, approach to attaching cuffs.
Congratulations, ladies! With this, you have successfully sewn cuffs on your sleeves on your own.
3. Other methods you can try Method:
3.1 Mix and Match Fabrics
Why stay with one fabric when you can mix and match? Use the creativity within you to combine hand-sewn details with machine-sewn efficiency, This will create a unique garment.
3.2. Experiment with Texture
Don’t be afraid to give your cuffs a little personality. Try adding material elements that can create a different sensory experience. Pleating, ruching, or even fabric manipulation techniques can introduce texture to your cuffs! This not only enhances the visual appeal but also makes for an engaging tactile sensation.
3.3. Adding Dimension:
For instance, you can outline an embroidered pattern with a machine-sewn bold stitch. Giving a contrast between intricate details and structured lines. This dynamic interaction of sewing methods elevates your cuffs. They’ll end up being the focal point of your garment.
3.4. Incorporate Personal Symbols and Memory
You’re already adding creative elements! Why not take it further? Incorporating personal symbols or motifs will make your cuffs even better! Whether it’s something small as a personal mantra or carefully placed charms, Meaning always adds another layer to any creation.
Consider stitching initials, significant dates, or even small symbols that bring sentimental value to you! When you blend those types of things with the efficiency of machine sewing, You’ll make cuffs that tell a story unique to yourself.
4.What to keep in mind
If you’re going to sew on sleeves without any experience, here are some tips that can help you out:
4.1 Practice makes perfect
The more you do it, the better you become at it. So all you need to do is practice. For a seamless closure, make sure to use a straight stitch on scrap fabric. Then you can try working on the fur.
4.2 Be patient
Many people think sewing on sleeves is a hard task and only professionals can do it. But that’s simply not true. With the right knowledge and patience, anyone can do it
5 Frequently Asked Question
5.1: Can I hand-sew if I prefer a more old-fashioned way?
Definitely! Hand-sewing is much slower but with a more delicate touch. If you enjoy every stitch, then this method is for you.
5.2: Is the sewing machine better to use here?
Yup! Machine sewing is faster and so the perfect fit for those who want their project done quicker.
5.3: Can I combine both methods?
For sure! Combining them both gives you the best of both worlds, and makes your product look extra unique.
5.4: Do I have to wash my fabric before starting?
Yes, regardless of which method you choose, always do this step. Sometimes if it’s not washed beforehand it can shrink and ruin all your hard work.
5.5: How can I fix uneven stitches with a machine?
The first thing you do is make sure everything on your machine is threaded correctly. After that practice on a scrap piece of fabric to see what tension works best for you.
Key takeaway
sewing cuffs might seem simple but it all comes down to what kind of style you want them in. You could go with the slower hand sew if you’re laid back or the quicker machine sew if time is everything. Whichever one you pick, just know that each has their own style and uniqueness that’ll add value to your clothing.


")
2 Comments
Whereas I like how the cuffs on sleeves look, I have had a huge problem for a long time. I didn’t have an idea of how to sew them if a need arose. Fortunately, this simple guide changes all that. I can’t wait to fix all the shirts and dresses I have set aside due to a cuff issue.
Adding cuffs to my sleeves is something I’ve always wanted to style my outfits. I opted for the hand sewing method, and I must say, I’m thoroughly impressed with the results. I’m also delving into the machine sewing method, which is significantly faster. Thanks to this article, I’ve infused style into my wardrobe and can’t wait to showcase my new look.