Have you ever looked through your wardrobe and wondered if the clothes were cut for a different body shape? Well, for me that has been the case, looking for casual shirts and a decent pair of jeans was infuriating me, especially considering a blend of style and comfort was the look I was aiming for. I would say, the breaking point came with a shirt that choked my neck, yet for some reason failed to take care of the sags on my shoulders. So that’s when I decided, I’ll create my own set of clothing.
The journey started with a blind motivation where I ensured to work long nights and asked the tailor to ensure I got a few crooked seams just for the fun of it, don’t get me wrong some elements were out of my control so naturally I had a good laugh about it.
1. My First Steps into the World of Pattern Making
As a novice in the world of pattern making, I felt as though I was embarking on a new expedition. It was gnawing on my memory that I had once encountered a blend of enthusiasm and perplexity with the idea of pattern making, though pattern making is essentially custom sewing from scratch. It is similar to being an architect of a fashion piece, where one designs, grades, and patterns to ensure the piece fits perfectly.
If someone has a dream of designing a dress of their own or remodeling a dress off of a previous idea they have modified then pattern making is an essential aspect to learn. For all the dreamers out there, who aspire to start making their dresses for fun or want to become a designer, mastering the craft of pattern making is essential as there exists infinite opportunities to pursue this skill learned.
The whole process of pattern-making is complex. It involves integrating knowledge of measurement, angles, and design wheels all together. It is very similar to piecing together a jigsaw puzzle but instead of getting jigsaw pieces, wool, rulers, and pattern paper were utilized.
While I could have used software for aid I decided to stick to the classical method where I manually drafted, graded, and tested my patterns. But craft is deeply embedded in affection and with time and effort put into it, the end result all felt blessedly unique to me.
2. My Personal Motivation for Learning Pattern Making
For me, it all started with a shopping spree that I went on. I was specifically looking for a jacket that was tailored and gave me a sharp look. But instead, I was faced with either too-fitted jackets or too-oversized ones, quite a conundrum indeed. Coming out of that store and not buying anything was a shocker, but it gave me a sense of motivation, if the tailor had failed to meet my needs, then I was prepared to fix the issues on my own.
My first attempt at creating my own clothes patterns? Hmm, let’s not even start with that because it ended up looking like a box! Not a box for something wearable but just a box. Nonetheless, I wore it around the house like it was designer because I made it.
3. Overview of My Journey from Beginner to Creating Custom Patterns
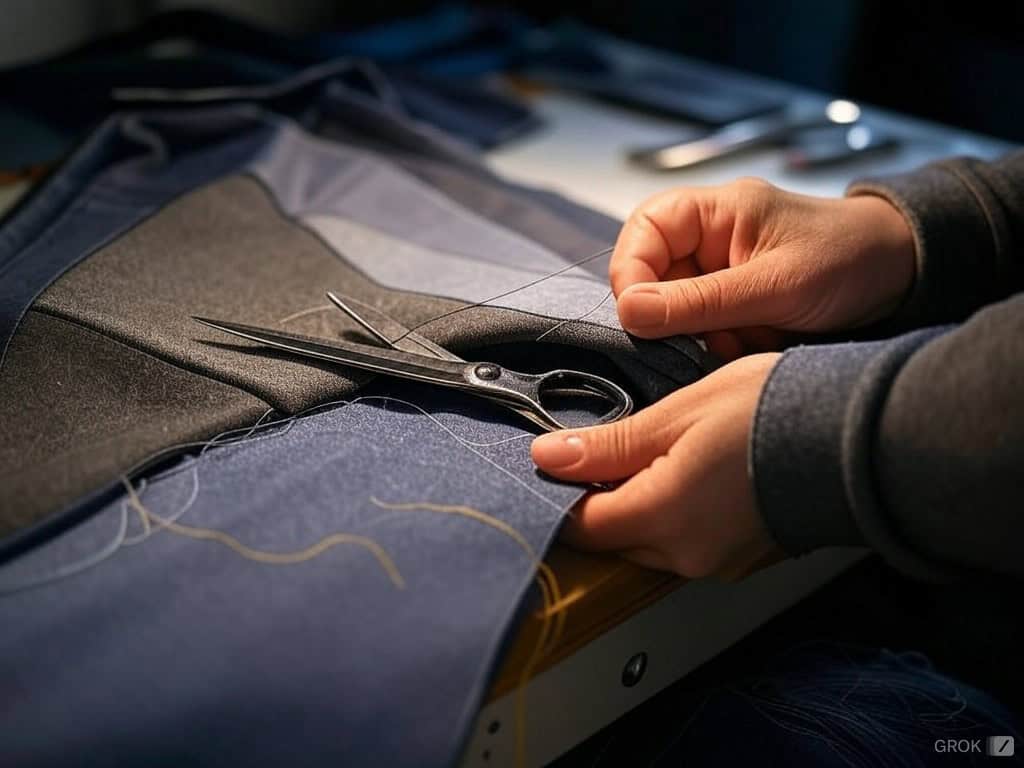
Well, when I first started, creating patterns made me feel like having to solve a puzzle with written languages that are Sumerian with limiting pointers engraved on them. Why was the bias always so much of an issue? What even is a dart? And why does it sound so mean? Haven’t we moved on? Obviously, these were questions I had while trying to get through the fabric skirt concepts.
I can safely say that my first bodice drafts were hilarious. In doing this, I also drew several comically tight muslins until I gradually figured out what is in fashion, and especially how the fabric is turned into one. Learning to draft patterns was a crucial part of this journey. Certainly, the steps closer to crafting more precise target patterns that I at long last was able to reflect on, “This Is Me Gorgeous on Hanger” were my successes (and failures).
Yes, I did risk a lot with my sewing abilities, at least there was a point in time when adequately constructing sewing was not my strong suit. Remembering using a bed sheet as a test fabric easily throws me because I can tell you, that fabric was hardly usable due to the absurd reason it made an obvious dress that looked as if I was a part of some Garey’s from history legend, I looked as though I had just gotten off from. Oh, well, after all, progress is progress.
4. How I Learned to Set Realistic Expectations for My Pattern-Making Journey
To be truthful, if making patterns is something you believe to be perfect from the beginning of your learning process, it will end up breaking you to a certain extent. I like to believe that it is the nature of the trade.
I’ve attached the incorrect edges to the fabric on more occasions than I’d like to recall. However, witnessing a success that appeared slightly more moderate such as a sleeve that did not feel tormenting in the slightest was an encouragement for me to not lose hope.
Attempting to make a neckline one day I made a mistake and instead of a neckline, I ended up making something that closely resembled a clown’s collar. That was so funny that I was unable to remain angry even though I had to be. Such situations are exactly what made the struggle worth it.
5. The Essential Tools and Materials I Can’t Live Without for Pattern Making
Instruments I Always Have
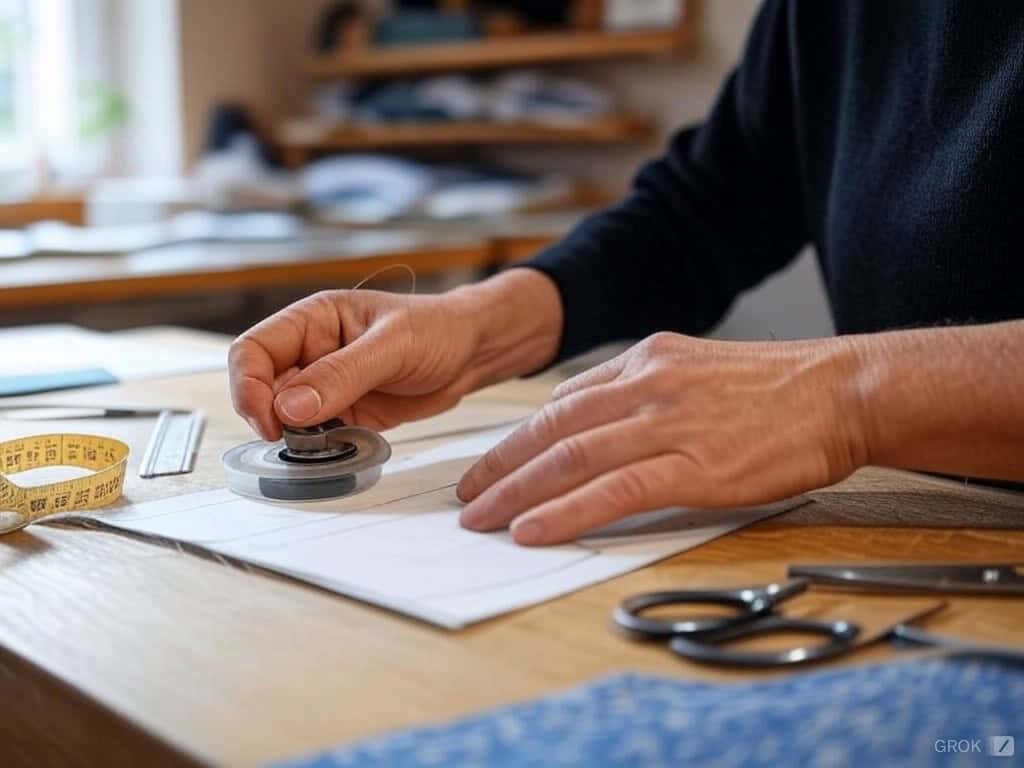
Measuring tape: My greatest ally of all time. I make sure to confirm the details with measurements a second time.
Tracing wheel: Transferring those enigmatic symbols is a breeze now.
Pattern paper: A helper in disguise because it serves as a splendid canvas for either a beautiful piece of art or failure.
Rulers: A possession that aids in drawing trim, curves, and even straight lines.
Optional but Helpful Tools
Pattern weights: A real game changer because it eliminates the chances of pricks to the skin during cutting.
Dressmaker’s hem marker: It’s logical for beginners to expect no hem sewn will be tilted and uneven.
Seam gauges: In this world of precise measures who doesn’t rejoice in cherishing the beautiful amalgamation of laughter and accuracy?
Finding Affordable Supplies
I’ve found amazing deals at yard sales, craft stores, and various online marketplaces (a $1 French curve is an amazing buy). One tip I recommend is reading reviews as tools may be appealing at first but are not functional, for example, tools from the Stone Age.
Inexpensive doesn’t always mean merry. In my experience once while ordering a ruler set, it was delivered bent and was of no use whatsoever: an experience that taught me how to spend wisely.
6. How I Learned to Take Accurate Body Measurements for Perfect Patterns
Important Measurements
- Bust: A round figure around the chest area, NO cheating sucking in.
- Waist: Defined as the natural area of the body and NOT after a big meal.
- Hips: The widest part around the body including, holding a tape measure and maintaining my self respect.
- Shoulder Width, Back Waist: These areas part of the arm are easier to pin down with a friend otherwise I look like a human pretzel.
- Arm Length: These of course should be done with someone who is capable of slightly too.
Common Measurement Mistakes
- Too tight? Loosen that tape!
- I am not standing up straight? Relaxing and acting like a soldier helps.
Measuring yourself is like… a circus. Use your imagination to visualize me holding a measuring tape around my hips and running around pretending it is a belt but the tape will continue slidding down. At some point I resembled a stringed up mess courtesy of a rogue tailor. At another time, I recruited my cat to assist me but she had other ideas.
7. Understanding Basic Blocks: My Key to Creating Perfect Patterns
What Are Basic Building Blocks?
Imagine basic blocks as the most intricate component of a design, they are dummies or templates devoid of any detail once one perfects the dimension of their physique. My imagination was limitless once I acquired those.
My First Bodice and Skirt Blocks
The bodice block about turned out to be quite the egregious task for me with me ending up sweating out bullets as I attempted to measure and then go on to mark all those moving points. It is an amalgamation of an algebra class rolled into one.
My first attempt had a neckline that could mooch around masquerading as a window curtain, however once I made a few changes afterward, I was able to finally get it right. When it comes to the skirt block however, I will say this, my hips back then were quite ambitious, and needless to say, the second attempt turned out to be substantially better.
8. My Pattern Drafting Adventures: Lessons Learned and Surprising Wins
First Attempts
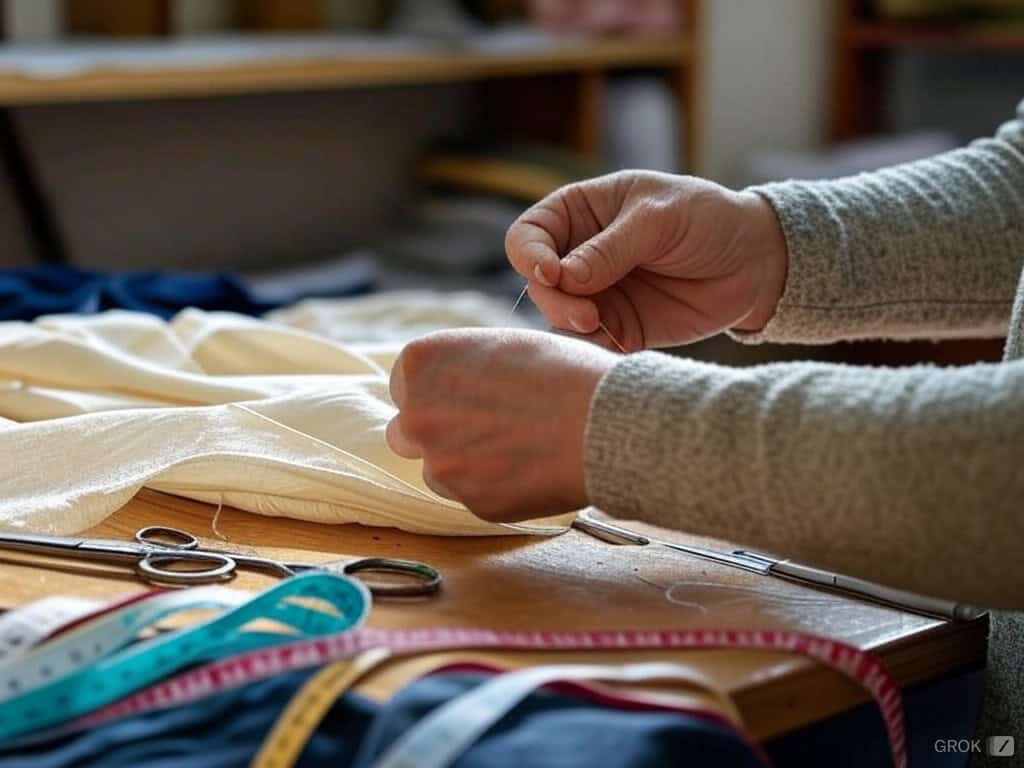
Converting my basic building block to a dress pattern was equal parts entertaining and infuriating, initially, I envisioned that adding seam allowances would just be basic rudimentary calculations, however, I was left in ruins as I forgot to add the stretch to the fabric which in turn resulted in me creating a dress that instead of being intended for wearing, turned out to actually be range wear.
Tips for Avoiding Mistakes:
- Always include seam allowances.
- Conduct a test using muslins, it is more cost-efficient to do that than to weep over torn silk.
- Take it slow. Being precise is forever above being fast.
9. Modifying Existing Patterns: What I Learned From Experimenting
Ah, the art of tracing an existing garment! I remember the first time I tried this technique, armed with a piece of pattern paper, a pencil, and a ruler. I laid my favorite shirt flat on the table, determined to capture its essence. Tracing an existing garment is a fantastic way to create a custom sewing pattern, especially if you have a piece that fits like a dream.
To start, you’ll need to place the garment on the pattern paper and carefully trace its outline. Don’t forget to include the seam allowance – trust me, it’s a lesson I learned the hard way! This technique can be a bit tricky, especially if the garment has complex shapes or curves. But with a bit of practice and a lot of patience, you’ll get the hang of it.
One thing to keep in mind is that tracing an existing garment might not always result in a perfect fit. The garment may have been altered or modified over time, so be prepared for some adjustments. But hey, that’s all part of the fun and learning process in pattern making!
10. Testing and Adjusting My Patterns to Perfect My Creations
Making Mock-Ups
Trying out mock-ups or muslins initially was quite a time-consuming task for me but slowly proved to be worth all the headaches. In the pursuit of creating the perfect dress, the first trial ended up assembling other issues like gaping at the bust and my retort ended up providing a much-needed inhibition to sating oppression.
Learning from Each Iteration
Over a couple of mock-ups, I perfected my first bodice. I recall getting elated and doing a little dance when that happened. It is a process of both trial and error, if I may add.
I recall once getting extremely frustrated while a mock-up was being made where the sleeves were so constricting that I couldn’t shift my arms. It was funny for sure but quite a humiliating experience as well, which made me feel like a mannequin of sorts.
My Laughable Yet Rewarding Journey
Pattern making, in all its facets, felt like a consistent learning and development opportunity instead of creating ready-to-wear clothing. There were moments when I was in hysterics over rounded numbers while on some occasions every little win felt worth celebrating. Right now, I can stroll around happily wearing my clothes knowing that every single inch has stitched patience, humor, and growth together.
If you are planning on following a similar path I would recommend going for it without any hesitation. You should not fear mistakes, they will probably serve you the best stories in the long run. Always remember that there’s no better feeling than wearing something that speaks true to you.
Happy sewing, and let the margin for error always be in your favor!


