1. Overview of Sewing a T-Shirt
Welcome, sewers! If you want to craft your trendy t-shirt, you came to the right place. We’ll walk you through each step – from fabric selection to adding the last touches.
Whether new or experienced in sewing, making a t-shirt is fun and rewarding. Trust me, once you wear your creation around town, all the effort will be worth it. Let’s dive into the art of making a t-shirt!
2. Preparing for Sewing

2.1. Fabric Selection for Your T-Shirt
When picking out your fabric for the tee, consider its comfortability and functionality. Cotton jersey is famous for its softness and stretchiness, making it perfect for everyday wear.
As another option, you can look into polyester blends that increase durability or spandex blends if you want more stretch. Also, note where you live and what activities/times you plan to use it.
2.2.Pattern Selection & Sizing Up
After deciding which fabric to use, it’s time to choose a shirt pattern made for the tee. Different styles include crew necks, V-necks, and fitted options available at any craft store or online shop. When selecting a size that fits accurately, follow the sizing chart provided by the manufacturer.
Measure your chest, waist, and hips correctly so you don’t make an unnecessary mistake in this process stage.
2.3. Stitch Knowledge & Understanding
Knowing the different types of stitches used in sewing is vital as they directly affect the appearance and durability of any garment – including T-shirts!
Especially those made with stretchy material like jerseys might need extra special love when stitching them together properly; otherwise, they might not fit as snugly as intended.
There are many stitch options, but using a straight stitch, a stretch stitch, or a zigzag stitch is crucial. These types of stitches will allow the fabric to retain its stretchiness and make sure your T-shirt fits well and is comfortable.
On the other hand, straight stitches are simpler and faster but do not stretch with the fabric. This causes popped seams when you put on the T-shirt. Zigzag stitching allows for more flexibility and is better suited for the seams of a stretchy fabric tee.
Using an overlock stitch if you have an overlock machine or serger is another method to stitch straight and secure & trim seam allowances with a clean finish.
3. Materials & Tools Needed

Alongside your chosen materials – fabric, pattern pieces, etc., you will need additional tools to sew together the t-shirt.
These include:
– A reliable sewing machine that can handle both zigzag and stretch stitches
– Sewing machine needles, which are made exclusively for fabrics like knit knit fabrics. Keeping an eye on what needle you’re using is important as it avoids damaging any material and smooths the process.
– Thread that matches gray fabric or compliments your fabric choice. Polyester thread is recommended since it’s strong and durable when working with knits
– Fabric scissors – a sharp pair dedicated solely to fabric will aid in keeping them that way.
– Use fabric chalk or a washable fabric marker for marking fabric per the pattern instructions.
– Pins or wonder clips to hold the fabric together before and during sewing (wonder clips are especially handy for knits as they don’t stretch the knit fabric out of shape).
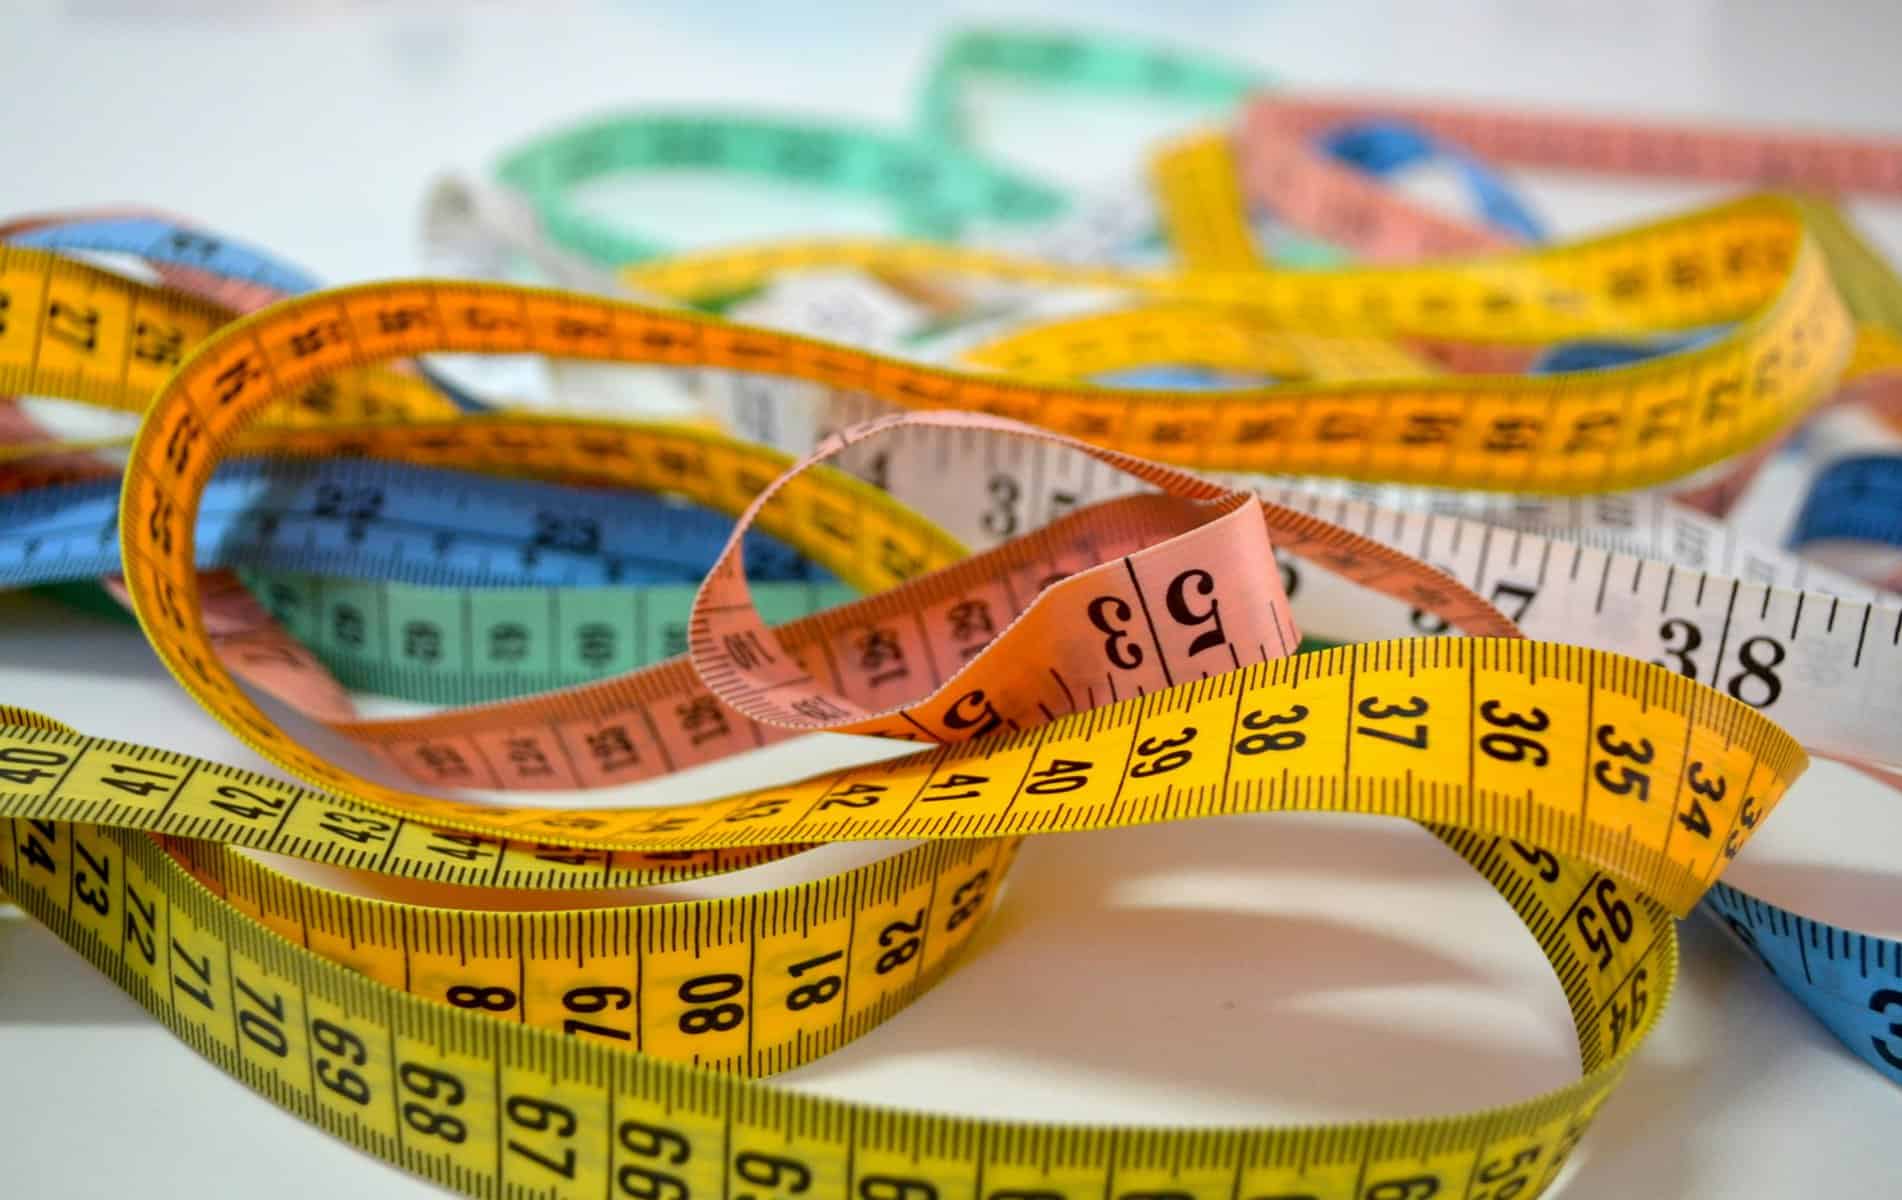
– Measuring tape to take body measurements and ensure accuracy when cutting fabric.
– Iron and ironing board for pressing seams.
4. Creating the T-Shirt
4.1. Using Paper Pattern Pieces
Start by laying your paper pattern pieces onto your folded-in-half lengthwise fabric. Ensure that the stretch of the fabric runs across the body of the t-shirt, then pin the pattern pieces in place so you can cut around them accurately.
4.2. Pinning Pattern Pieces to Fabric
Pinning your pattern pieces on before you start cutting ensures they won’t slip. Place pins about 5 inches apart along the edges of each pattern piece. Be careful not to distort as you poke and prod.
4.3. Joining Front and Back Necklines
Line up the shoulder edges of the front and back pieces on the right sides together, and sew with zigzag or stretch stitch. (Be cautious not to stretch as you sew the shoulder seams).
4.4. Adding Sleeves
Adding sleeves is easier than it looks: match the center of the sleeve with the shoulder seam; pin outward. The fabric should naturally curve. Sew the sleeve to the same shape as the body, being careful not to create ruffles.
5. Stitching Side Seams

5.1. Aligning and Sewing Sides Together
With sleeves attached, fold the T-shirt’s right sides together; align the sleeve & side seams. Beginning with the right side up at the cuff, sew down through the bottom edge.
5.2. Finishing Raw Edges With Zigzag Stitch
Finishing raw edges is important for preventing fraying and giving your T-shirt a professional look. Zigzag stitch encases the raw edge while adding durability to your seams.
6. Hemming The Bottom Edge
6.1. Folding and Stitching The Hem
Fold the bottom edge to your desired hem allowance; pin in place. Sew close to the folded edge with a zigzag or stretch stitch (this preserves the fabric’s elasticity).
7. Finishing Touches

7.1. Adding Neck Binding
Measure the neckline of the T-shirt. Cut a strip of fabric from the back neckline about 90% of this length and approximately 1 ½ inches wide (this reduction in length helps the neckline lay flat so it doesn’t sag).
7.2. Attaching Neck Binding
First, join the ends of the binding strip’s right sides to form a circle; sew with a stretch stitch or narrow zigzag stitch, then gently press the seam to stretch it open. Fold the strip in half lengthwise, wrong sides together, pressing lightly to create a crease along the midpoint. Raw edges will be aligned, resulting in a long, narrow loop.
7.3. Finishing Sleeve Hems
To finish the hems of the sleeves, follow similar steps to hem the bottom edge of a t-shirt. Measure and fold up the bottom edge of each sleeve to your desired hem allowance, pinning it in place to secure it. Maintain evenness around the circumference of the sleeve to ensure a uniform appearance. Sew close to the folded edge using a zigzag or stretch stitch while allowing the fabric to retain its elasticity and movement without breaking thread when stretched.
Press sleeve hems using iron on suitable settings for your fabric type, creating a crisp, clean finish. Be cautious not to apply excessive heat or pressure that could damage the fabric or cause it to stretch out of shape during the process. This step also helps fuse stitches into the fabric, providing a neat appearance and additional durability.
7.4. Adjusting Fittings

After sewing the main components together, try on the garment to assess its overall fit and feel. If you find certain areas too baggy or far too tight, note it so you can adjust accordingly.
For parts of the basic t-shirt bottom that feel a bit loose, carefully pin along those areas and mark how much fabric you need to tighten up. Once you’ve marked it all up, remove the shirt and sew along your new lines, eventually tapering off into the original seam so there’s no awkward bulge in that area. Trim away any excess fabric and finish off the raw edges as described before to keep things from fraying later.
If anything feels too tight for comfort, letting out the seams might not be possible, depending on stitch length and how much fabric was initially cut off when they were made.
However, if you have enough room to sew closer towards the edge of it all, I’d say go for it! This typically buys a little extra space but isn’t guaranteed due to how your initial seam allowance was made.
8. Final Thoughts On How To Sew A T-shirt
Congrats on completing this project! With lots of practice over time, I know your skills will grow enough to see that sewing an entire wardrobe from scratch won’t even seem like a challenge anymore. Good luck with future projects, and have fun wearing your custom-fit t-shirt!


