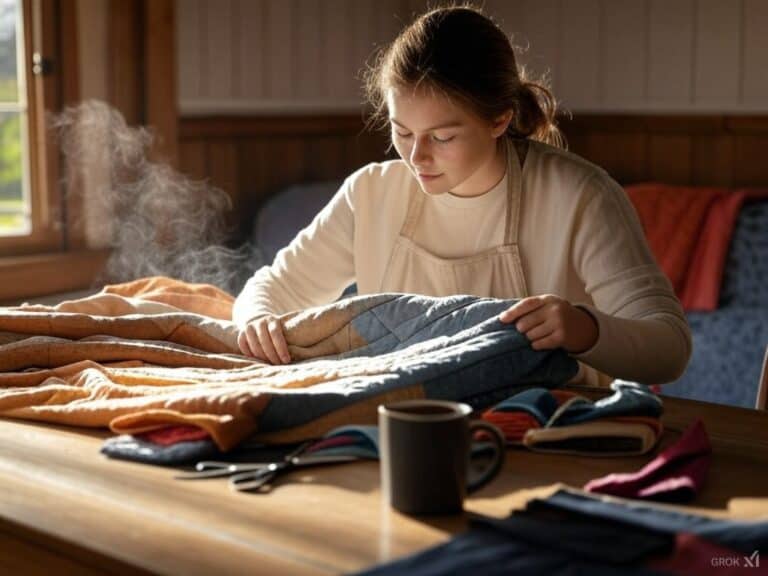
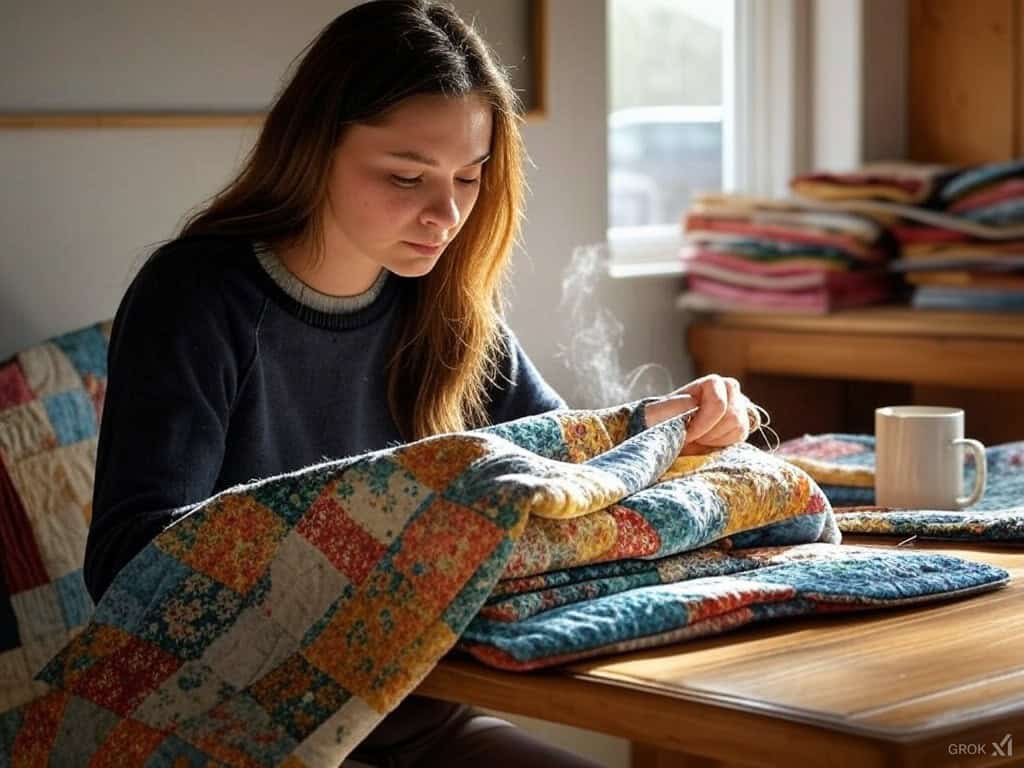
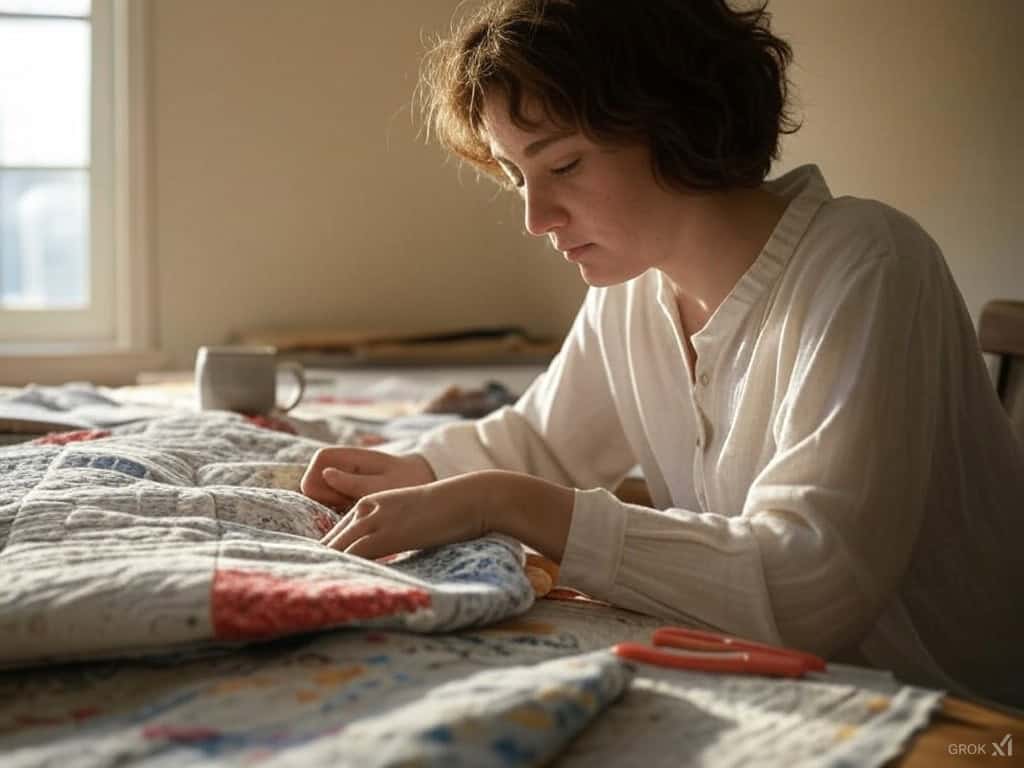
Emma sat at her sewing table, the sun streaming in the window, warming the room. It was quiet except for the clock ticking and the fabric rustling. She had been waiting weeks for this moment—the moment she would start the king-size quilt she had been thinking about for years. Now was the time and she felt a mix of excitement and nervousness.
Before she laid the fabric pieces she had chosen. Each one had a story to tell: florals in blues and greens, neutrals, and textured solids that would add dimension to the design. Emma knew it would be hard but it would be so good. Every block she sewed would be a piece of her. As she imagined the gorgeous quilt pattern coming together, she could already see it on the bed in her guest room, a warm and cozy symbol.
Quilting, especially a king-size quilt, is a journey of patience, attention to detail, and learning. It’s not just about sewing fabric together, it’s about creating something that will last—a piece of functional art that can be passed down for generations. For Emma, this quilt would be a beautiful addition to her home and a personal project to show off her skills and her commitment to making something special.
As she started to sort the fabric and gather her tools Emma realized this was more than a craft project—it was a chance to be tangible, to take simple and turn it into something amazing. And with every stitch she sewed she would be leaving a legacy of warmth, love, and creativity that would outlive the fabric.
1. Understanding King Size Quilts
What is a King Size Quilt?
A king-size quilt is designed to fit a king-size bed, which typically measures 76 inches wide and 80 inches long. This generous size ensures that the quilt provides ample coverage, draping elegantly over the sides of the bed. King-size quilts are not just functional; they add a touch of sophistication and luxury to any bedroom.
Imagine a beautifully crafted quilt, with its intricate patterns and rich textures, transforming your bed into a centerpiece of comfort and style. Whether you prefer a minimalist design or a more elaborate pattern, a king-size quilt can elevate the aesthetic of your bedroom, making it a cozy and inviting retreat.
Making a king-size quilt is no small task and only4apollo shared their 3-year journey on r/quilting. They used the Retro Rove fabric collection and the Adeline pattern by Busy Hands Quilts and decided to use a walking foot and do an outlining technique instead of straight quilting.
At first, this was a challenge especially when trying to get the quilt through the throat space of their sewing machine but they found a way around it by rotating the quilt 3/4 of the way and then reversing direction to do the last 1/4. Despite the struggles it was worth it and now they have a beautiful quilt with inner star panels that is a happy centerpiece on their bed. Quilting is patient and passionate work.
My first king-sized quilt
byu/only4apollo inquilting
2. Choosing the Fabric
The first thing Emma did was choose her fabric. This was the base of the quilt—the colors, textures, and patterns would set the whole tone.
Tips for Choosing Fabric
Quality Fabric: Always use 100% cotton fabric. It’s durable, breathable, and soft, perfect for both looks and use.
Color Palette: Choose a cohesive color scheme. Emma chose soft blues, muted greens, and floral patterns for a calm, classic look. Consider incorporating darker fabrics to create graphic angles and add visual interest.
Texture: Textures matter. For added depth mixing fabrics with different textures like flannel or linen can add to your design.
Fabric Amount: For a king-size quilt you will need a lot of fabric. Make sure to calculate the yardage based on your design.
Selecting Fabric for a King Size Quilt
When it comes to selecting fabric for a king-size quilt, the process requires careful consideration. Given the size of the quilt, you will need a substantial amount of fabric. It’s essential to choose fabrics that not only complement each other but also stand the test of time. Think about the color palette that will best suit your bedroom decor.
Emma, for instance, opted for soft blues and muted greens, creating a serene and classic look. The texture of the fabric is equally important; mixing different textures like flannel or linen can add depth and interest to your quilt. Durability is key, so always opt for high-quality, 100% cotton fabric. This ensures that your quilt will be both beautiful and long-lasting, a true testament to your creativity and effort.
3. Coordinating Prints and Solids
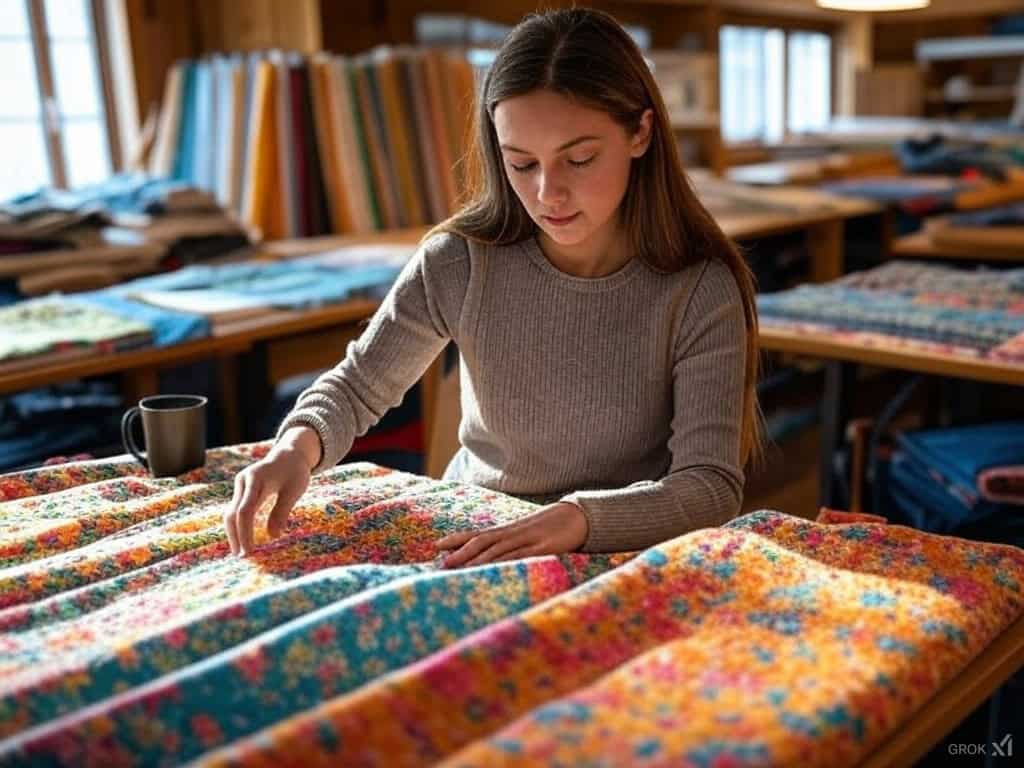
Once the fabric was chosen Emma laid everything out on the floor and started to sort the prints. She knew balancing solids and prints was key to the visual impact.
How to Coordinate Prints and Solids
Neutral Base: A neutral base fabric will anchor your design. Emma used a soft cream fabric for the background of the quilt.
Mix Large and Small Prints: Combining large bold patterns with smaller prints will balance your design. Emma used florals for contrast and solid blues for calm. For added visual appeal, consider using a pretty paisley print, which can complement the overall pattern of a queen-size bed quilt.
Use a Color Wheel: If you’re unsure of color combinations, use a color wheel. Complementary colors (across from each other) create bold contrasts, and analogous colors (next to each other) blend.
Quilting is more than a craft its a way to tell stories and make memories. Take this post from r/quilting by Ten-MillionFireflies as inspiration: “Hand quilting a king-size quilt to give to my sister! Pattern is Around the World, made by me using Pattern Jam”.
This is what quilting is all about—love and creativity where every stitch has meaning. Whether it’s for someone else or yourself quilting turns fabric into more than just a blanket it’s a treasured gift full of thought and history.
Hand quilting a king size quilt to someday give my sister! Pattern is Around the World, made by me using Pattern Jam
byu/Ten-MillionFireflies inquilting
4. Get Your Tools Ready
Having the right tools is key, especially when working on a big project like a king-size quilt. Emma knew preparation was everything—every step would require precision.
Tools for Quilting
Rotary Cutter and Cutting Mat: These will give you straight cuts. A cutting mat will protect your surfaces and a rotary cutter is much easier to use than scissors.
Quilting Ruler: A long quilting ruler will ensure all cuts are accurate and even.
Sewing Machine: A good machine will handle the multiple layers of fabric without skipping stitches.
Pins or Basting Spray: Pins or basting spray will hold the layers in place while you sew. Emma chose basting spray so she wouldn’t have to pin the quilt’s many layers.
5. Cutting the Fabric
Now the quilt starts to come together. With fabric pieces measured out Emma started cutting them into strips and squares.
How to Cut Fabric for your Quilt
Cutting Strips and Squares: Measure and cut your fabric into the pieces you need. Emma cut strips and squares but you may need triangles or other shapes depending on your quilt design.
Use a Rotary Cutter: This will give you accuracy and clean edges. A sharp blade will cut through fabric easily, especially when you’re cutting a lot.
Double Check Measurements: Always check your cuts are the right size. Even a tiny mistake will throw the whole design off later on.
6. Piecing the Quilt Top
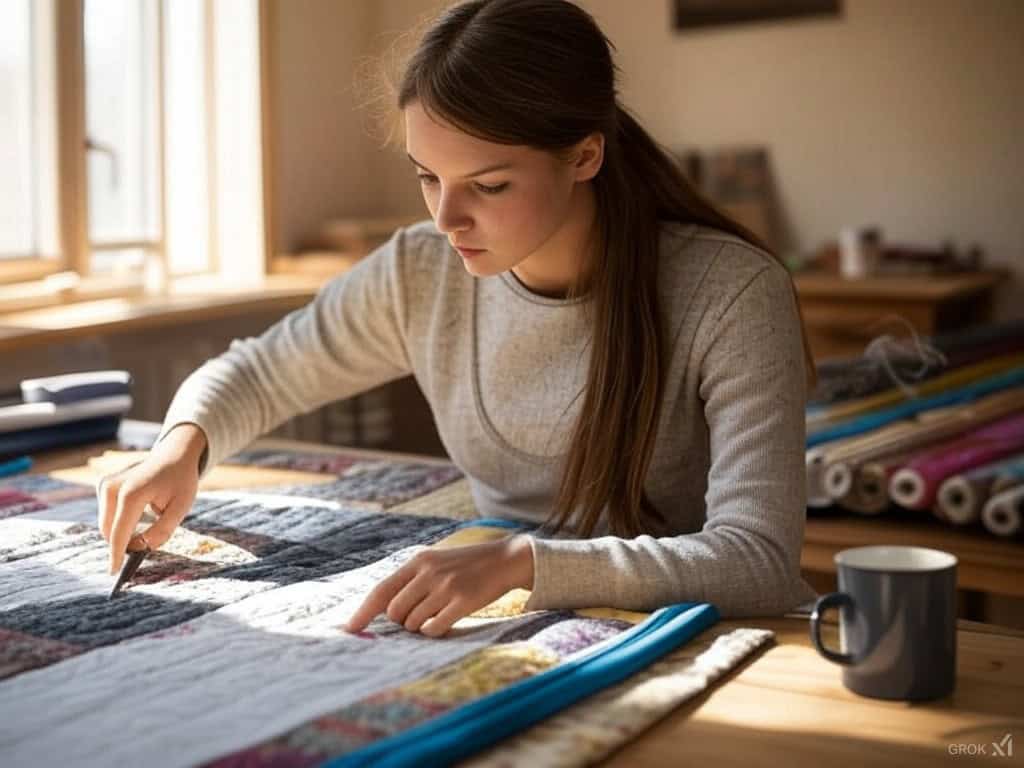
Now the fun starts when you begin working on your pieced quilt top. This is where your creativity and your fabrics come together.
How to Piece the Quilt
Sewing the Pieces Together: Using a 1/4 inch seam allowance, start sewing your pieces into blocks or rows. Emma worked in sections, sewing strips into blocks and then blocks into rows.
Pressing Seams: After each piece is sewn, press the seams flat with an iron. This will keep your quilt top neat and straight.
Lay Out Your Design: Lay your quilt top out on the floor or a big surface before sewing the rows together. This will give you a chance to see the whole design and make any final adjustments.
7. Assembling the Quilt Top
After all the blocks were pieced Emma started assembling them into rows, which would eventually become the whole quilt top.
How to Assemble Your Quilt
Joining Blocks into Rows: Sew the blocks into rows, matching seams where necessary. Take your time when working with big quilt tops. Consider the hourglass block quilt design, which uses coordinated prints and diagonal seams to create visually striking angles.
Sewing the Rows Together: Once the rows are ready, sew them together, pressing as you go.
Trim the Quilt Top: After the rows are joined, trim the edges of the quilt top to make sure it’s even all around.
8. Layering the Quilt
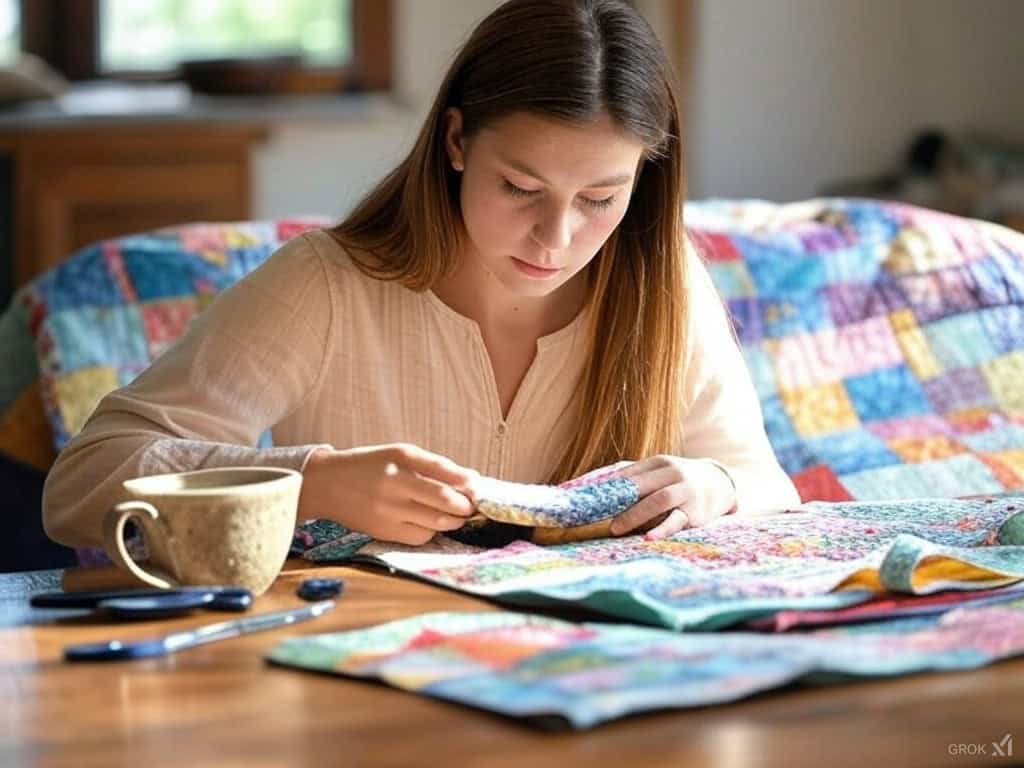
Now the quilt top is assembled, it’s time to layer it with the batting and quilt backing.
How to Layer the Quilt
Quilt Backing: Lay the backing fabric on a big flat surface, and iron out any wrinkles.
Batting: Lay your batting over the backing fabric. Batting is what keeps your quilt warm.
Quilt Top: Finally, place the quilt top on top of the batting, and smooth out everything. Alternatively, for a summer-weight quilt, you can finish it as a duvet cover instead of using batting.
Pinning or Basting: Use quilting pins or basting spray to hold all three layers together. This will prevent the quilt layers from shifting while you’re quilting.
9. Quilting the Layers
Now the layers are secure, it’s time to quilt. This is where the quilt becomes functional and starts to look like a quilt.
How to Quilt the Layers
Machine Quilting: Sew along the seams of your quilt top with your sewing machine to stitch through all layers. You can also add extra quilting lines or designs to make it more personal.
Free-Motion Quilting: If you’re feeling brave try free-motion quilting for custom designs.
Check for Evenness: As you quilt, make sure the layers stay lined up. Don’t pucker by adjusting your machine’s tension if needed.
10. Binding the Quilt
The last step in making your quilt is to add the binding. This is what gives your quilt its finished look.
How to Bind the Quilt
Cutting Binding Strips: Cut fabric strips for the binding. The width can vary but 2.5 inches is a common size. For a visually appealing finish, consider using striking blue toile.
Attaching the Binding: Fold the binding strips in half lengthwise, then sew them around the edges of the quilt. Join the binding ends nicely.
Finishing the Binding: Once sewn, fold the binding over the edge of the quilt and hand stitch or machine stitch to the back.
Quilting is as much about community as it is about creativity and stories like this on r/quilting show that. Handcraftedfood is sharing their progress on hand quilting a king-size quilt and proudly announcing “Finally reached the border!”—even though the lighting in their photo is awful.
Every small win is worth it when quilting whether by hand or machine. For quilters in progress, r/quilting is a place to find inspiration, share struggles, celebrate milestones, and turn your solo projects into group wins.
Hand quilting a king size quilt and finally reached the border! (Pardon the bad lighting/angle)
byu/handcraftedfood inquilting
11. King Size Quilt Patterns
Types of King Size Quilt Patterns
King-size quilt patterns come in a delightful array of styles, each offering a unique way to express your creativity. Here are some popular types of king-size quilt patterns to consider:
Strip Quilts: These quilts are made by sewing together strips of fabric to create a cohesive design. Strip quilts are particularly well-suited for king-size quilts because they can be easily adjusted to fit the dimensions of a king-size bed. The simplicity of strip quilts allows for endless customization, making it easy to match your quilt to your bedroom decor.
Block Quilts: Block quilts feature individual blocks of fabric sewn together to form a larger pattern. This type of quilt is a favorite for king-size quilts because the blocks can be arranged in various ways to create stunning designs. Whether you choose a traditional block pattern or a more modern interpretation, block quilts offer versatility and visual appeal.
Appliqué Quilts: Appliqué quilts involve sewing decorative pieces of fabric onto a background fabric. This technique can add a touch of elegance and sophistication to your king-size quilt. Appliqué designs can range from simple shapes to intricate motifs, allowing you to create a quilt that is truly a work of art.
Pieced Quilts: Pieced quilts are made by sewing together smaller pieces of fabric to create a larger design. This type of quilt is ideal for king-size quilts because it allows for a high level of customization. You can mix and match different fabrics, colors, and patterns to create a quilt that is uniquely yours.
When choosing a king-size quilt pattern, consider your skill level, the fabric requirements, and your style. Each pattern offers its own set of challenges and rewards, but with patience and creativity, you can create an exquisite bed quilt that will be a timeless treasure in your home.
A Quilt That Tells Your Story
Emma stepped back and looked at her finished king-size quilt. What was once a pile of fabric had become a beautiful, meaningful creation. Each stitch told a story and every pattern was a reflection of her. Now it wasn’t just a quilt, it was part of her home.
By following these steps you can turn your king-size quilt into a reality. Whether it’s a gift for someone special or a new addition to your own home, making a quilt is rewarding in itself. Each step is an opportunity to be creative, precise, and patient, and in the end, you’ll have a timeless treasure to treasure for years to come.


