")


A Brownie badge is a little piece of fabric that holds years of memories. It’s task markers, moments, experiences, and achievements all in one. But the question is…where to sew on brownie badges? Where on the brownie vest uniform are they supposed to be placed? This guide will break it down for you.
Section 1: A Guide to Sewing Badges
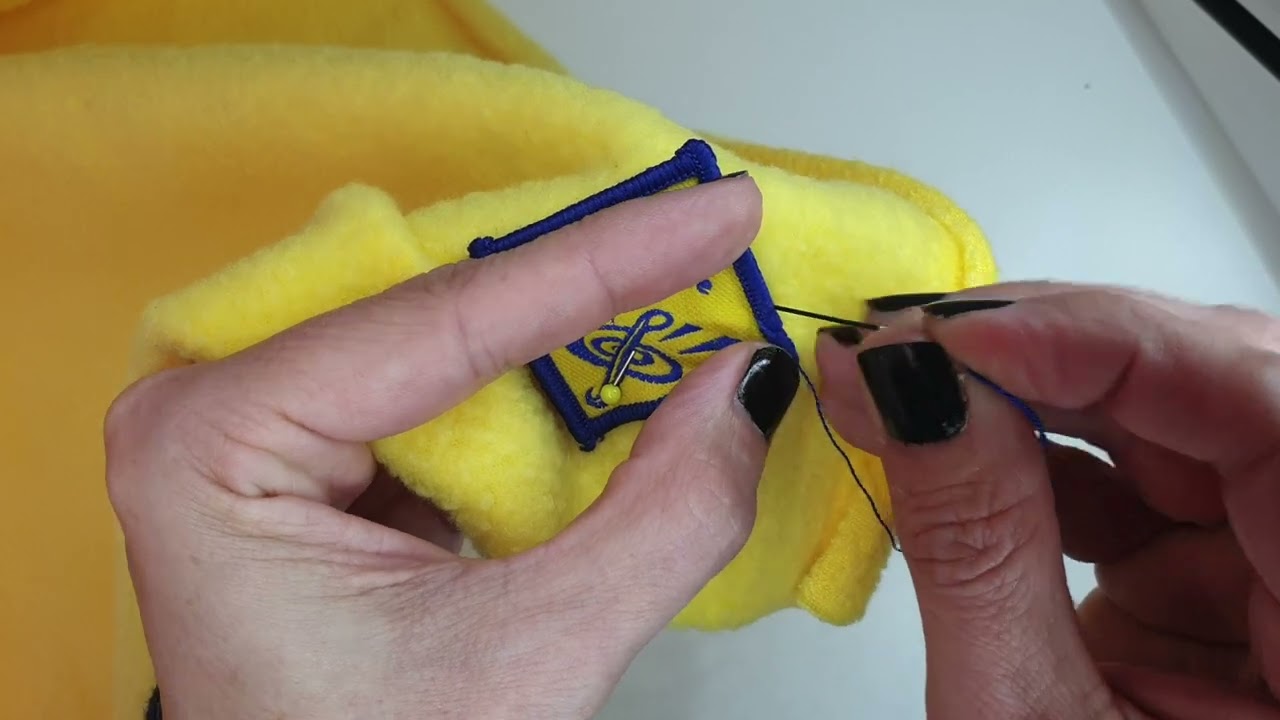
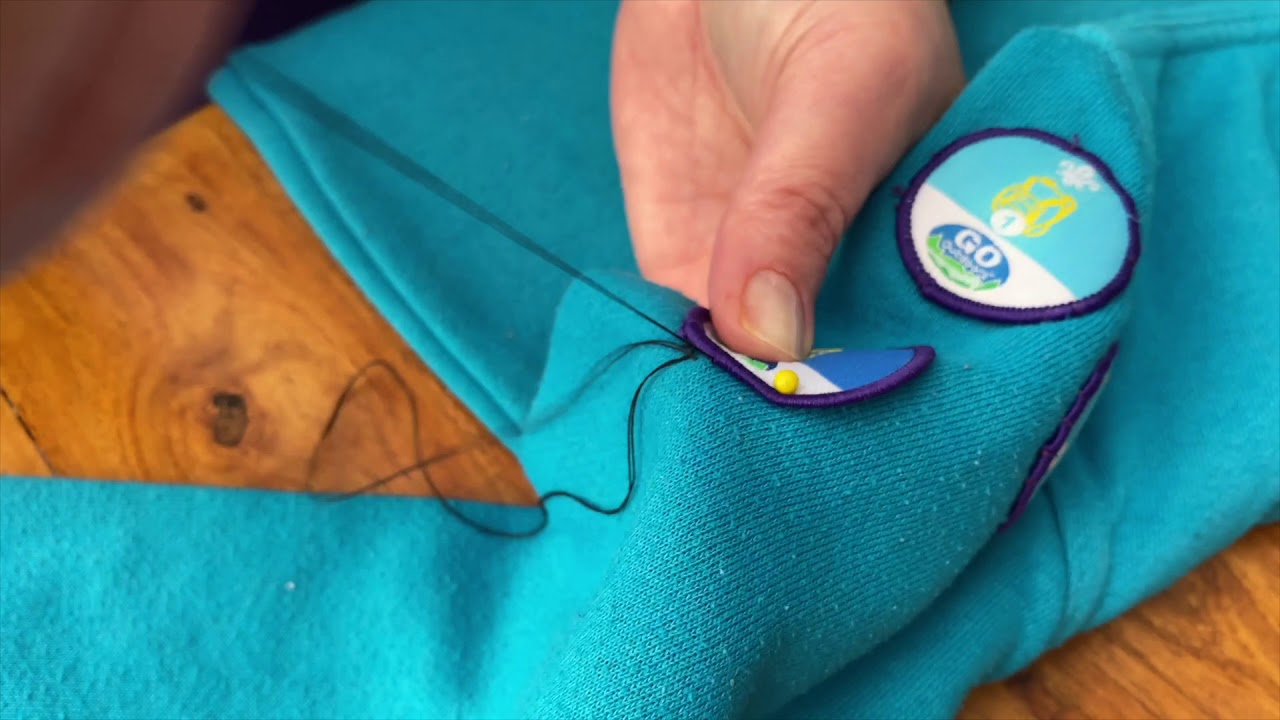
Sewing doesn’t have to be hard! It actually only takes a few things: thread, a needle, and scissors. Some like to use pins to help hold the badge in place while sewing. All you have to do is push the needle through the bottom of the uniform and sew around the edge of the badge until it’s secured.
1.1 Sewing: Tradition
The best part about sewing badges onto uniforms is that it’s timeless! Once sewed on, the badge will pretty much stay there forever until removed by force (or maybe a washing machine). And when that time comes where you want to transfer your badges over to uniforms or a camp blanket – sewing them off will be easy!
1.2 Fabric Glue: Easy Peasy Lemon Squeezy
Not everyone has nimble fingers or lots of patience… we get it. In this case, fabric glue might just be your saving grace. For just 3£ you can finish sticking all your badges on in no time by simply placing glue on display badges on their back and pushing them onto your uniform.
1.3 Hemming Tape: Time vs Durability
Hemming tape is typically used for shortening sleeves and trouser legs but can also come in handy here! Cut into strips (or torn), then place a damp tea towel overtop with an iron set at steam setting for heat activation. After a few washes though, this method may loosen up so adding stitches around its edge can provide extra security.
2. Tips for Easier Sewing
Badge Attachment: Tips, Timesavers and Tricks
2.1 Masking Tape – Your Temporary Assistant
When sewing multiple badges, masking tape is your best friend. It leaves no adhesive residue and holds badges in place as you sew. Just peel off after stitching – voila! No trace left behind!
2.2 Tying Off Threads – A Simple Loop and Pull
Tying off thread tails is a breeze by pulling them through from the back. This simple loop-and-pull technique minimizes the hassle and speeds up the tying-off process, making your badge-sewing adventure more efficient.
2.3 Pre-Sew Badges Together – Group Effort
Save time and thread by pre-sewing badges together that belong together. This works wonders for Council ID patches, Troop Numerals, fun patches with segments/rockers, and more. It’s a time-saving tactic that ensures perfect alignment.
3. The Art of Badge Placement: A Personal Touch
3.1 Scout’s Honor: Using Sewing Machines
For individuals who value precision and sturdiness, sewing machines offer a solution. Utilizing a machine to sew on badges guarantees a strong attachment, and makes it easy to remove them when it’s time to transfer to a camp blanket or vest.
3.2 Community Conversations: Real Talk on Badge Attachment
Sew On, Tape Or Glue? Many people have their own methods for attaching Brownie badges to sashes, and online forums are packed full of them.
Some people love to sew. They say that the precision is better that way. We can all agree that the fabric is delicate, like a flower petal to be exact. A single wrong stitch and you’ll destroy it. To avoid this, go slow and be steady; each type of uniform will require a different technique.
4. Frequently Asked Questions
4.1: Can I use fabric glue to attach my Brownie badges?
Absolutely! Fabric glue is a handy alternative to sewing. It secures them well, albeit not as firmly as sewing. Just follow the instructions on the glue bottle.
4.2: Is sewing badges by hand difficult?
Not at all! Hand-sewing badges is easy and satisfying. All you need is a needle, thread, and some patience!
4.3: What type of thread and needle should I use for sewing badges?
For hand-sewing, a medium-weight thread like Gutermann works well. As for the needle, choose one with a sharp point like the Schmetz Microtex 90/14.
4.4: Can I use a regular sewing machine for attaching badges?
Absolutely! A regular sewing machine works great. For width and length balance, use a medium zig-zag stitch. It’s precise and efficient!
4.5: How do I remove badges attached with fabric glue?
Peel the badge off gently. Any leftover glue can usually be rubbed off with your fingers. If it’s stubborn, a damp cloth will help. And always check the specific instructions on the glue.
4.6: What’s the best way to align and organize multiple badges?
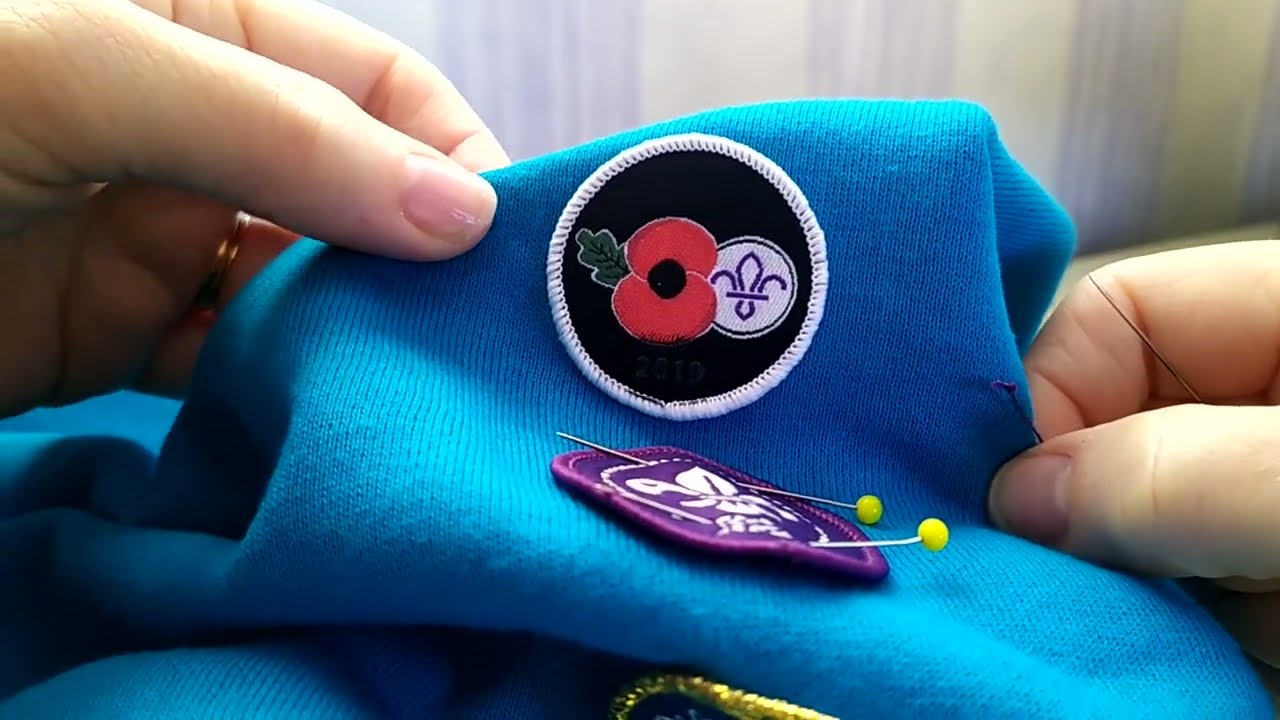
Use masking tape to temporarily secure them while you sew. That ensures a neat arrangement. Another method is pre-sewing them together if they belong in the same group.
4.7: Can I sew badges on a sash using a sewing machine?
Yes! Even delicate fabrics are fine with a regular sewing machine as long as you go slow and use an appropriate needle.
4.8: Is there a recommended placement for badges, or can I get creative?
There are no rules when it comes to placement! Some like symmetry while others prefer an eclectic look. Let your creativity flow and tell your unique guiding story.

4.9: How do I care for badges attached with sewing or fabric glue?
A9: Sewn-on badges are tough and can withstand washing machines. When using fabric glue, refer to the specific care instructions on the bottle. In general, gentle handwashing is recommended.
4.10: Can I transfer badges from my uniform to a camp blanket later?
Totally! It’s as simple as removing them carefully. Then you’re ready to start fresh alongside new badges on your camp blanket.
Closing Thoughts
It’s your choice where to put your badges in the end. Some look terrible if they’re not symmetrical while others look best if they’re scattered around. Just remember, who you are as a person should reflect in what your uniform looks like.
Each badge tells its own story after all! And when it comes time to place badges, sew them on, glue them or use tape — wear them with pride and joy! Not just so they look cool on you, but so they feel cool too! As each badge finds its place take note, because each stitch and placement sings your song — one that lays out adventure, camaraderie and spirit of guiding.
")


1 Comment
Sewing on brownie badges on the uniform was quite overwhelming as I had never taken on the task. However, armed with various easy-to-follow methods outlined in this step-by-step guide, the process became a breeze. Implementing the techniques has transformed my brownie vests into true masterpieces every time becoming better, and I will be proudly wearing and flaunting the results. After all, why not showcase a job well done.